

Picture this – Your latest email campaign is ready to launch.
Your copy is punchy, your design is flawless, and your call to action is irresistible.
You hit the ‘send’ button with a sense of satisfaction. Then, you wait, hoping for the influx of responses and sales to flood your inbox. But it doesn’t happen. The campaign underperforms.
Sounds familiar?
Overlooked details in your email marketing strategy can often be the culprits behind such performance.
With countless aspects to juggle, from the subject line to the landing page design, it’s no surprise that some aspects may slip through the cracks, affecting the overall success of your campaigns.
Wouldn’t it be great if you had a foolproof checklist to ensure that each and every one of your email campaigns is set up for success? A tool that allows you to leave no stone unturned and covers every aspect of a high-performing email marketing strategy?
That’s exactly what you’ll find in this article. My comprehensive 14-Step Email Marketing Checklist is the secret sauce to transforming your campaigns from underperforming to outstanding.
Keep reading to find out how you can make the most of this golden tool and start reaping the benefits today.
What is Email Marketing?
Email marketing is a strategic digital marketing approach that involves sending emails to prospects and customers. Its goal is not merely to send messages but to develop relationships with potential and existing customers, nurture those leads, and encourage them to take action.
In the context of a business or marketing campaign, email marketing is a vital tool for brand awareness, customer acquisition, customer retention, and driving sales. It allows businesses to reach a group of people who have expressed interest in their products or services, providing personalized, targeted content right into their inboxes.
In essence, email marketing is more than just sending promotional emails. It’s a nuanced strategy designed to deliver value, build trust, foster customer loyalty, and ultimately drive business growth.
If this sounds like what you are seeking to improve in your business, you’re in the right place.
14 Step Email Marketing Checklist
Mastering the art of email marketing involves a sequence of carefully planned and executed steps. It’s not about sending a large volume of emails and hoping for the best.
It’s about precision, creativity, and meticulous attention to detail.
That’s why I’ve developed this unique, 14-step checklist to streamline your email marketing campaigns and ensure that every email you send serves its purpose effectively. You can either hire an expert marketing automation consultant or use this checklist to plan your strategy!
Step 1: Use an email marketing platform
The first step in streamlining your email marketing process is by utilizing an email marketing platform. This tool can greatly enhance your ability to manage and execute email campaigns, track their performance, and understand the behavior of your subscribers.
Platforms such as MailChimp, Constant Contact, SendinBlue, or GetResponse provide intuitive interfaces that allow you to easily design emails, manage your contact lists, segment your audience, automate your emails, and analyze the performance of your campaigns.
For instance, let’s take MailChimp as an example. To get started, you simply sign up for an account, import your email list, and create your first campaign. MailChimp offers various templates for different types of emails (newsletters, promotions, event announcements, etc.) which you can customize to match your brand. You can then schedule your emails, set up automated sequences (like welcome emails or cart abandonment reminders), and track your emails’ performance in real time.
Note: Remember, the key to successful email marketing is not just sending out emails, but sending the right message, to the right person, at the right time.
Step 2: Use AI to write and optimize emails
Email optimization is the secret ingredient to successful email marketing. It’s about sending the right content to the right person at the right time – a task that can be daunting and time-consuming. But what if there was a smarter, more efficient way to achieve this?
Enter Artificial Intelligence (AI).
AI in email marketing does the heavy lifting for you. It helps create more engaging, personalized content, improve subject lines, determine the best times to send emails, and effectively segment your audience – all critical components of an effective email campaign.
Benefits
- Analyze large amounts of data to learn the preferences, behaviors of your subscribers, enabling you to send highly personalized emails that resonate with them.
- Generate and optimize email subject lines, body copy, and calls to action
- Predict when each individual subscriber is most likely to check their email, ensuring your message arrives at the right time.
- Automatically segment your audience based on their behaviors and preferences, enabling you to send more targeted emails.
How to Execute?
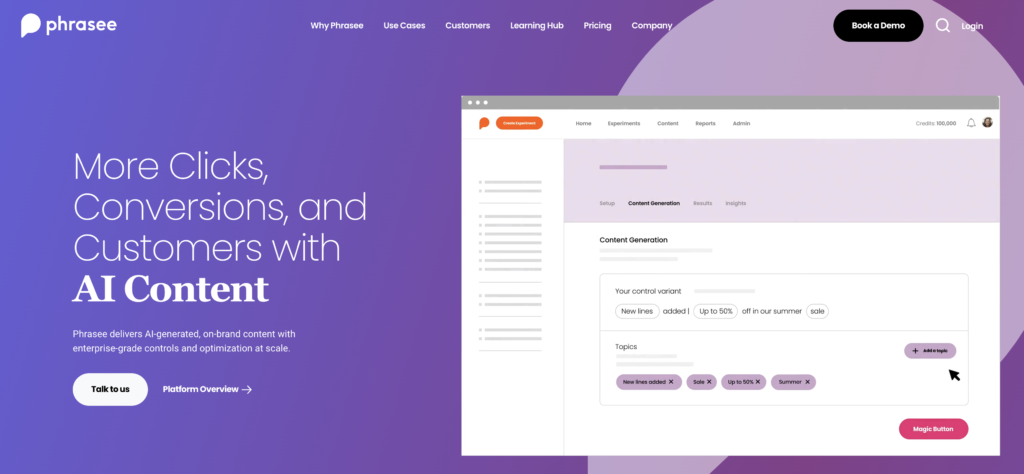
Take advantage of AI-powered tools like Phrasee, Persado, or Boomtrain. For instance, if you’re using Phrasee for subject line optimization, start by drafting an email subject line. Phrasee will analyze it using its machine learning algorithms and suggest optimized alternatives.
Perhaps your original subject line was, “Big discounts on our latest products!”. Phrasee might suggest a more engaging alternative like, “Score major savings on our newest arrivals!”. This revised subject line is more conversational and engaging, which could lead to higher open rates.
By harnessing the power of AI, you’ll be able to send more effective, personalized emails to your subscribers. This can significantly boost engagement, leading to more conversions and stronger customer relationships.
Step 3: Time your marketing emails
Timing is crucial in email marketing. If you send your emails when your subscribers are most likely to be checking their inbox, you significantly increase the chances of your emails being opened and read. Conversely, if your emails arrive at inconvenient times, they could get buried in an overflowing inbox, ignored, or even deleted.
To time your marketing emails effectively, consider the following steps:
1. Understand your audience: Your subscribers’ email habits can vary depending on their lifestyle, job, timezone, and other factors. Start by getting to know your audience better. Are they working professionals who check their emails during commuting hours, or are they stay-at-home parents who might check their emails throughout the day?
2. Test different send times: There’s no universally perfect time to send emails. What works best for your audience might not work for others. Experiment with sending emails at different times and days of the week, then monitor your open and click-through rates to see when your audience is most responsive.
3. Leverage email marketing tools: Many email marketing platforms, like MailChimp or SendinBlue, offer features that allow you to schedule your emails for optimal send times based on your audience’s previous engagement data.
4. Use AI-powered tools: If you want to take timing to the next level, use AI-powered tools like Seventh Sense. These tools can analyze your email data and predict the optimal send times for each individual subscriber.
Note: Remember, the goal is to reach your subscribers when they’re most likely to be checking their email. So, monitor your results, adjust your send times accordingly, and continue to test and optimize to achieve the best results.
Step 4: Set up opt-ins
Setting up opt-ins is an essential step in growing your email list and ensuring that you’re reaching an audience that’s genuinely interested in what you have to offer. An opt-in is essentially a form that visitors to your website can fill out to subscribe to your emails.
Source: Digioh
Here’s how to set up effective opt-ins for your email marketing:
- Choose the Right Opt-in Type
- Position Opt-ins Strategically
- Offer Value
- Keep It Simple
- Make it Clear
- Use an Email Marketing Platform
By effectively setting up opt-ins, you’re building a list of subscribers who have actively shown an interest in your brand, which makes them more likely to engage with your emails and convert into customers.
Step 5: Set up auto tags for signups
Tagging is a powerful feature in email marketing that helps you categorize and segment your subscribers based on their behaviors, interests, or any other criteria that matter to your business. When you set up auto tags for signups, you automatically assign tags to new subscribers when they join your list, making it easier to send targeted, relevant content to different segments of your audience.
Step 6: Use a variety of signup forms
Using a variety of signup forms is a powerful strategy to maximize your subscriber growth. Different forms will appeal to different people, and by offering a range, you can capture as many potential subscribers as possible. This variety can also help you understand what type of content or offer is most compelling to your audience.
To implement these, you would use your chosen email marketing platform (such as Mailchimp, HubSpot, or ConvertKit) to design the forms and embed them on your website. Most platforms offer easy-to-use form builders with customizable fields, colors, and fonts to match your brand.
Remember, the goal of these signup forms is to entice website visitors to join your email list. Make sure each form clearly states what the visitor will gain by subscribing, whether it’s valuable content, exclusive offers, or early access to new products or services. The more value you can offer, the more likely people are to sign up.
Step 7: Add a pop-up form
Pop-up forms are a powerful tool for capturing the attention of your website visitors and encouraging them to sign up for your email list. They can appear after a certain amount of time, after scrolling to a certain point, or when a visitor attempts to leave the page (exit intent).
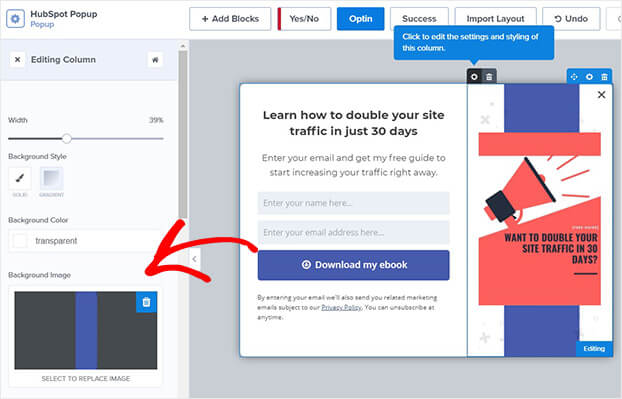
Here’s how to add a pop-up form to your website:
- Platforms like Zoho, Mailchimp, ConvertKit, and AWeber provide easy-to-use tools for creating and implementing pop-up forms.
- Within your chosen platform, navigate to the form creation tools. Customize the form with your brand colors, fonts, and message.
- Keep the form simple, ask for necessary information, usually just a name and an email address.
- Define when the pop-up should appear. Will it be after a certain amount of time (e.g., 30 seconds), once a visitor has scrolled a specific percentage of the page, or when they show exit intent?
- Make it clear to your visitors what they’ll get in return for signing up
- Once you’ve created your pop-up form and set the display rules, you’ll need to add it to your website.
By strategically adding a pop-up form to your website, you can actively grow your email list and create more opportunities to engage with your audience.
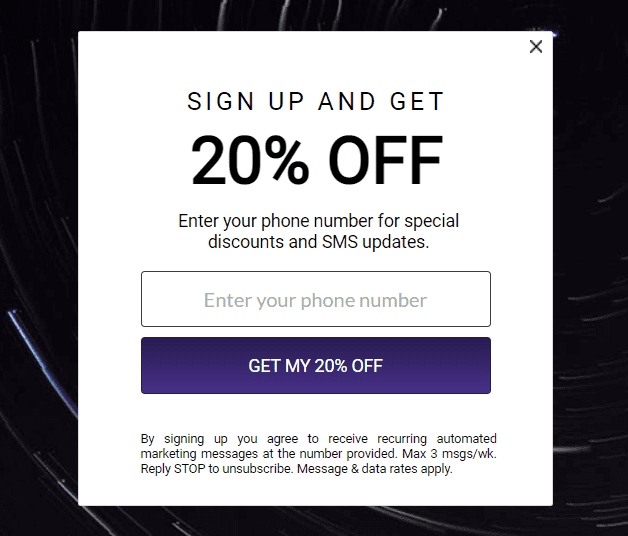
Step 8: Offer an incentive
Incentives, also known as lead magnets, are free items or services given away for the purpose of gathering contact details. They serve as a potent tool to increase your email list and to foster a positive first connection with potential clients. Here are some popular types of incentives and how to execute them:
- Ebooks or Whitepapers
- Webinars or Online Courses
- Discount Codes
- Free Trials or Samples
Remember, the most effective incentives are closely tied to the products or services you offer and are highly valuable to your target audience. Always make sure your incentives are fulfilling a need or solving a problem for your subscribers.
Step 9: Import contacts from other sources
As your business grows, you may accumulate contact information from various sources beyond just your email signup forms. Importing contacts from other sources can help centralize your email marketing efforts and ensure you’re reaching all potential customers.
Here’s how to execute this step:
- Compile Your Contact Lists
- Clean and Format Your Data
- Choose an Email Marketing Platform
- Import Your Contacts
- Segment Your List
Remember, it’s essential to maintain good email marketing practices throughout this process. Make sure you have explicit permission to contact these people, and always provide an easy way for them to opt-out or unsubscribe from your emails.
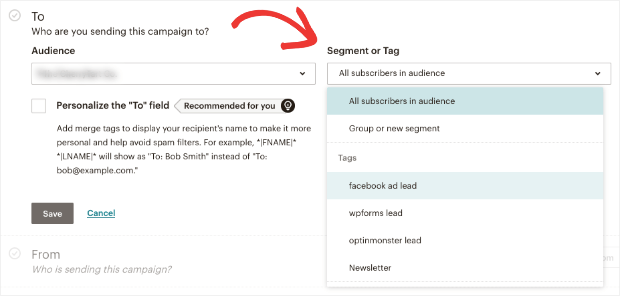
Step 10: Segment your email lists
Segmenting your email lists means dividing your subscribers into smaller groups, or “segments”, based on specific criteria. These can be demographics, past purchases, browsing behavior, engagement with past emails, and more. Segmenting allows you to send more personalized and relevant emails to your subscribers, which can lead to higher open rates, increased engagement, and ultimately, more conversions.
Step 11: Set up a robust tagging system
Tagging in email marketing is about assigning labels to your subscribers based on their characteristics or behaviors. It helps fine-tune your audience segmentation, allowing for better personalization.
Here’s how to set it up:
1. Define Tag Categories: Determine categories such as source (where they joined your list), interest (topics they’re interested in), behavior (actions taken like purchases or email opens), and demographics.
2. Assign Tags: Tag subscribers manually or use automation features in your email marketing platform to assign tags based on triggers or actions.
3. Update Tags: Adjust tags as a subscriber’s behavior or interests change.
4. Use Tags in Campaigns: Tailor email campaigns to specific tags, ensuring more relevant content for your subscribers.
Step 12: Change sender identity when appropriate
The sender identity in an email campaign is the name and email address that your recipients see in their inbox. It plays a crucial role in email open rates because recipients are more likely to open an email from a name they recognize and trust. However, there can be situations where it might be beneficial to change the sender identity.
Here’s how and when you might consider changing it:
1. Different Departments or Roles: For example, a customer service issue might come from a “Support Team” sender identity, while a sales promotion might come from a “Special Offers Team”.
2. Personalization: For example, instead of “XYZ Company”, you could use “[Your Name] from XYZ Company”.
3. Testing and Optimization: You might also consider changing the sender identity as part of A/B testing to see if a different name or email address improves your open rates.
Remember, consistency is key in building recognition and trust, so any changes to sender identity should be carefully considered and tested. Also, ensure your sender identity aligns with your brand and feels relevant to the recipient.
Step 13: Don’t buy contacts
Purchasing email lists may seem like a quick way to boost your audience, but it often does more harm than good. Here are the key reasons why:
1. Legality: Many countries have laws against sending unsolicited emails. Using a bought list could result in penalties.
2. Reputation: Sending emails to people who didn’t opt-in can harm your brand’s reputation and lead to high unsubscribe rates.
3. Email Deliverability: Most email service providers have strict rules against using purchased lists, which can result in your emails being marked as spam or your account being suspended.
Instead, focus on growing your email list organically with tactics like offering valuable content, optimizing your signup forms, and promoting your email list on your website and social media platforms.
Step 14: Clean Your contact list regularly
Maintaining a clean email list is crucial for ensuring high delivery and open rates, and reducing spam complaints. Here’s how and when you should clean your list:
1. Frequency: Aim to clean your list every 3 to 6 months, or more frequently if you’re sending emails regularly.
2. Inactive Subscribers: Remove subscribers who haven’t engaged with your emails in a certain period (like 6 months to a year), as they’re unlikely to start now.
3. Hard Bounces: Remove contacts that consistently result in hard bounces, as these are invalid email addresses.
4. Unsubscribes and Complaints: Ensure anyone who unsubscribes or complains is immediately removed from your list.
Remember, a smaller, engaged list is more valuable than a larger, unengaged one. Focus on subscribers who are genuinely interested in your brand and offerings.
Key Considerations for Successfully Choosing the Right Email Marketing Software
Choosing the right email marketing software is a critical step for the success of your email marketing strategy. While the aforementioned steps are significant, there are a few more aspects that need your attention.
Firstly, evaluate your business needs and goals. If you’re a small business with simple email marketing needs, a basic, user-friendly platform might be sufficient. But if you’re a larger business with more complex needs, like advanced segmentation, automation, or integrations with other software, you’ll want a more robust platform.
Secondly, consider the pricing model. Most email marketing platforms offer tiered pricing based on the number of subscribers or emails sent. Ensure the platform you choose fits within your budget not only at your current size but also as you plan to grow.
Lastly, customer support is crucial. Even the most intuitive platform may require assistance at some point, so having access to timely and helpful support can be a lifesaver. Check out the platform’s customer support reviews before making a decision.
Remember, the right email marketing software can streamline your marketing process, enable you to reach your target audience more effectively, and ultimately drive better results for your business.
Taking it to the Next Level: How to set Email Workflows
Once you’ve mastered the basics of email marketing, setting up email workflows, also known as autoresponders or email automation, is a great way to take your strategy to the next level. Email workflows are pre-set sequences of emails that are triggered by specific subscriber actions or behavior, allowing for more personalized and timely communication.
Firstly, identify the goals for your email workflows. For example, you might create a welcome series for new subscribers, a re-engagement workflow for inactive subscribers, or a post-purchase workflow for customers.
Secondly, map out your workflows. This will include the trigger for the workflow, the sequence and content of the emails, and the action you want the recipient to take. Remember, each email in the workflow should provide value and move the subscriber closer to the desired action.
Lastly, use your email marketing software to set up and automate your workflows. Most email marketing platforms offer workflow or automation tools that can send your emails automatically based on the criteria you’ve set.
Email workflows can greatly increase the effectiveness of your email marketing by delivering the right message at the right time, saving you time and effort in the process. As you grow and evolve, you can refine and expand your workflows to better serve your business and your audience.
To Sum Up
We’ve now walked through the 14-step checklist for effective email marketing, a guide designed to be a blueprint for your success in reaching your audience. These steps, from setting up a robust tagging system to regular list cleaning, are cornerstones of any successful email marketing strategy.
Over my decade-long journey in email marketing, I’ve implemented and refined these practices, consistently witnessing their potential in boosting audience engagement and driving conversions. I’ve seen businesses transform, growing from a handful of subscribers to a thriving community, and I’ve observed how personalized, well-timed emails can remarkably impact a company’s bottom line.
But remember, the effectiveness of email marketing doesn’t come from blind application of steps; it stems from understanding your unique audience and continually adapting your strategies to serve them better.
I invite you to employ these steps in your email marketing efforts. Leverage my experience and insights to your advantage. But most importantly, never stop learning and experimenting. Here’s to your success in the powerful world of email marketing!